
Last updated:
A blurry or unfocused iPhone camera can be frustrating, especially on devices renowned for their advanced photography features. But before you assume your camera module needs replacement, consider that most focus and blur problems stem from simple, reversible causes—like smudged lenses, unsuitable lighting, accessory interference, or even user technique. Understanding these root issues and running through a careful troubleshooting checklist can often restore sharpness, saving you time and the cost of unnecessary repairs.
This article provides a step-by-step diagnostic guide, drawing from Apple’s repair protocols and industry experts. We’ll explain the most common reasons why iPhone cameras produce soft images, what your symptoms reveal, and the correct sequence of actions to isolate and resolve the cause. We’ll also explore when it’s time to seek professional help and what to expect if a hardware issue is likely. While minor menu differences exist across models, these principles apply broadly across recent iPhone generations and iOS versions.
Why Is My iPhone Camera Blurry or Not Focusing?
There are several primary reasons for a blurry or stubbornly unfocused iPhone camera. By recognizing these causes, you can quickly zero in on the best fix:
- Smudges or dirt on the lens: Even faint fingerprints, oil, or dust can create haze, streaks around lights, or overall softness. This is the most frequent culprit, as confirmed by multiple independent sources.[1]
- Accessory interference: Cases, lens protectors, magnetic mounts, or wallet-style holders can block or reflect light into the camera. Alignment issues, cloudiness, scratches, or condensation under accessories make image quality worse.[2]
- Environmental conditions: Low light, fast movement, or being too close to the subject often exceeds the camera’s focusing or stabilization capabilities.[3]
- Software or app glitches: Occasional iOS bugs—especially after major updates (e.g., iOS 26/27)—or issues within third-party apps can cause autofocus or preview bugs.[4]
- Physical damage: Drops, intense vibration (such as from motorcycle mounts), or moisture inside the lens can disrupt hardware stabilization and focus.[3]
Diagnosing Your Camera’s Blur: Quick Symptom-to-Cause Table
| What You See | Likely Cause |
|---|---|
| Haze, glow, or streaks around lights | Lens smudges, condensation, protector/case glare |
| Blurry foreground, sharp background | Subject too close, lens focus limit |
| Nighttime or low-light blur | Movement, insufficient light, long exposure |
| Only one zoom lens is blurry | Dirt/obstruction, hardware failure of specific lens |
| Selfies are blurry | Dirty front lens, screen protector issue, front camera problem |
| Problem only in one app | App-specific bug; not a hardware issue |
| Focus hunts/clicks/shakes | OIS failure, hardware or magnetic interference |
Step-by-Step Troubleshooting Checklist
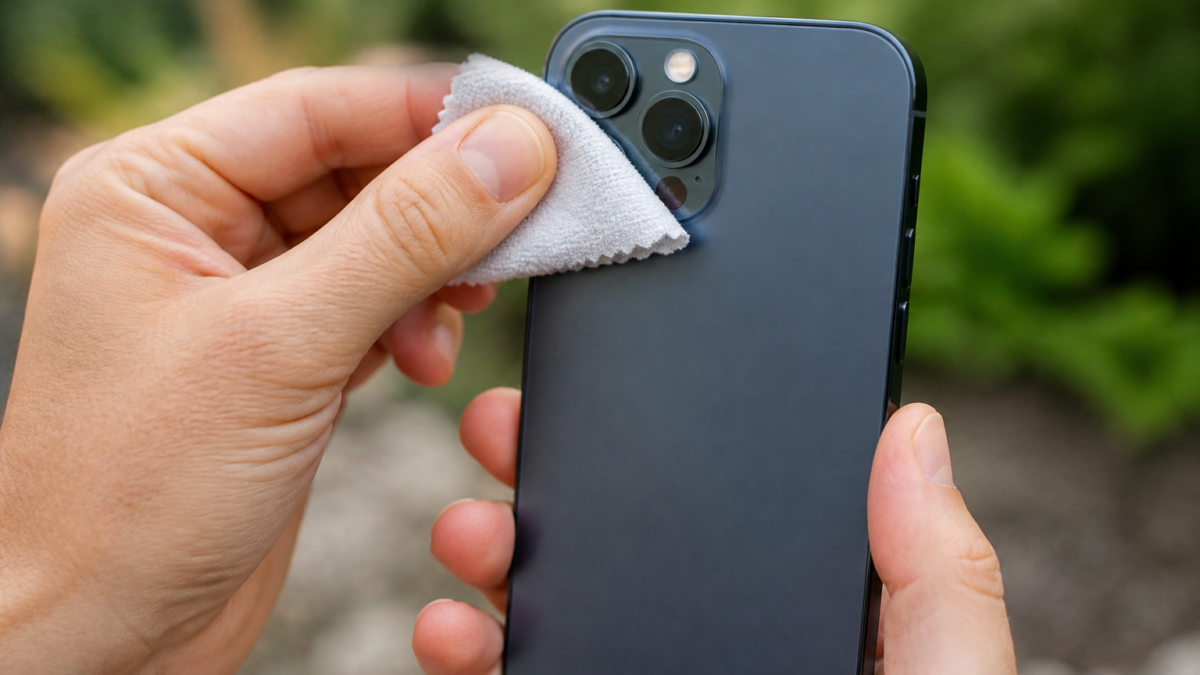
- Clean every camera lens: Use a soft microfiber or lens cloth. Gently wipe the rear lens cluster and the front-facing camera area. Don’t use liquids directly or abrasive materials. [2]
- Remove the case and any lens accessories: Take off everything: cases, ring decorations, magnetic mounts, lens protectors, stickers, and wallet accessories. Even a clear protector can degrade or reflect light.[2]
- Inspect for internal damage or condensation: Look for cracks, trapped fog, or foreign debris under the lens. Smudged glass can be wiped; internal fog or cracks require service.[3]
- Test in bright, indirect light: Photograph stationary objects (e.g., business card or sign) in strong daylight but not directly facing the sun.[5]
- Tap to focus: On the Camera app, tap the object you want sharp. Use AE/AF lock when steady focus is critical.
- Change your shooting distance: Move the phone further away if close-up subjects aren’t sharp. Each lens has a minimum focusing range.
- Hold the phone steady or use a timer: Bracing your hands or using a surface will reduce motion blur and help diagnose true focus problems.
- Compare front and rear cameras, and zoom options: If only one lens or the front camera is blurry, the problem may be hardware-related for that unit.[5]
- Restart your iPhone: Clears cached app and system states.[6]
- Update iOS and camera apps: Some blur and focus problems arise after updates or are fixed by new patches. Check for both iOS and app updates.[7]
Technique: Dealing with Close-Ups, Low Light, and Focus Controls
Fixing Close-Up Blur
If the subject is closer than your camera’s minimum focusing distance (varies by lens), you’ll always get blur—tap-to-focus won’t help. Move back a few inches until the image becomes sharp. On supported models, macro mode may switch lenses for extreme close-ups.[8]
Tap and Lock Focus
Tap the screen where you want the focus point. For shots where you want the focus to stay put, touch and hold until “AE/AF Lock” appears. This is ideal if autofocus keeps shifting between foreground/background.
Managing Low Light
Blur in low light is usually from longer exposures. Steady the camera, use both hands, or prop it against something stable. Night Mode will activate automatically where supported; hold still until the capture is done. Moving people will often blur more than backgrounds.
When Is It App, Hardware, or Accessory? (Testing Matrix)
| Test Action | If Blur Persists… | If Blur Disappears… |
|---|---|---|
| Remove all cases and lens accessories | Possible hardware or intrinsic problem | Accessory or case was to blame |
| Try a different camera lens/zoom | If specific lens: hardware issue likely | If all fix: possible dirt or software |
| Try a third-party camera app | Blur in all apps: system/hardware/fault | Only Camera app blurry: app or iOS issue |
| Clean the lens | Blur remains: other factor at play | Solved: simple cleaning solution |
| Test front vs rear camera | Only one blurry: that module is suspect | Issue solved: accessory or smudge |
Common Mistakes to Avoid When Troubleshooting
- Never scrape or use metal on the lens/protector: Scratches can permanently degrade image quality.
- Avoid compressed air: Apple advises against this as it may introduce debris or moisture internally.[2]
- Don’t spray or pour cleaner directly on the device: Use only a dampened cloth, and keep moisture away from openings.
- Don’t shake, tap, or slap the phone: This can worsen loose or damaged components.
- Avoid resets as your first step: Hardware or physical causes won’t be fixed by software resets. Reset only if advised after all other steps.[6]
What If the Camera Is Still Blurry? When to Consider Repair
If the blur or focus problems persist after cleaning, removing accessories, good lighting, and controlled testing with multiple apps and both cameras, then hardware issues are more likely—especially if you’ve recently dropped the device, exposed it to water, or see cracks or fog inside the lens. Persistent shaking, clicking, or a blurry preview that never sharpens despite all troubleshooting steps point strongly to failing OIS hardware or mechanical focus mechanisms.[9]
Arrange a professional inspection. Before authorizing repair, ask the provider:
- Does the price include diagnostics, parts, labor, and tax?
- Will original Apple parts be used (for best compatibility)?
- Is there a warranty on the repair?
- Does the quote include accidental damage or only a single module?
- Will calibration or Repair Assistant be completed afterward?
Back up your iPhone and confirm access to your Apple account before handing it in.
Frequently Asked Questions
Why is my iPhone camera blurry even after cleaning?
Accessories like cases or lens protectors may remain fogged, misaligned, or scratched. Remove all accessories, test in bright light, and compare each lens. Persistent blur on only one camera may signal hardware failure.[1]
Can an iPhone camera lens protector cause focus issues?
Yes. Even clean protectors sometimes introduce haze, misalignment, or glare. Remove and compare results—the fastest way to isolate the problem.[2]
Why won’t my iPhone focus up close?
You may be inside the minimum focus distance. Move farther away. Some models enable macro mode with very close focus, but if not, back up and crop to achieve clarity.[8]
Are blurry iPhone photos at night caused by camera failure?
Not usually. Most nighttime blur is due to motion during long exposures, not a malfunction. Use both hands, a surface, or tell subjects to stay still. Clean the lens to reduce light streaks.[3]
Can magnetic car mounts really cause camera blur?
Yes. Strong magnets can disrupt OIS and autofocus hardware. Remove all magnetic accessories and retest. Persistent symptoms require a restart and, if unsolved, might demand inspection.[2]
Should I reset my iPhone to fix a blurry camera?
Usually not necessary unless basic steps fail. Cleaning, accessory removal, light management, app checks, and software updates come first. Resets should be a last resort, ideally after consulting Apple Support.[6]
How can I tell if my camera’s physically broken?
Clues include: cracked lens glass, fog trapped beneath, black camera in every app, persistent shakes or clicks with no external cause, or a sudden start after a drop or water exposure. Back up and seek a pro evaluation.[3]
Conclusion
If your iPhone camera is blurry or won’t focus, start with controlled, simple steps: wipe the lens, remove cases and accessories, use strong indirect light, tap to focus, move slightly further from close subjects, and compare all camera modules and camera-related apps. Most image-quality problems stem from removable or correctable factors—not failed hardware. If blur and focus issues remain after these checks, especially following a drop or water exposure, seek expert inspection and get a clear repair quote. Avoid risky DIY repairs and always confirm what’s included in service pricing for your specific iPhone model.






Leave a Reply