
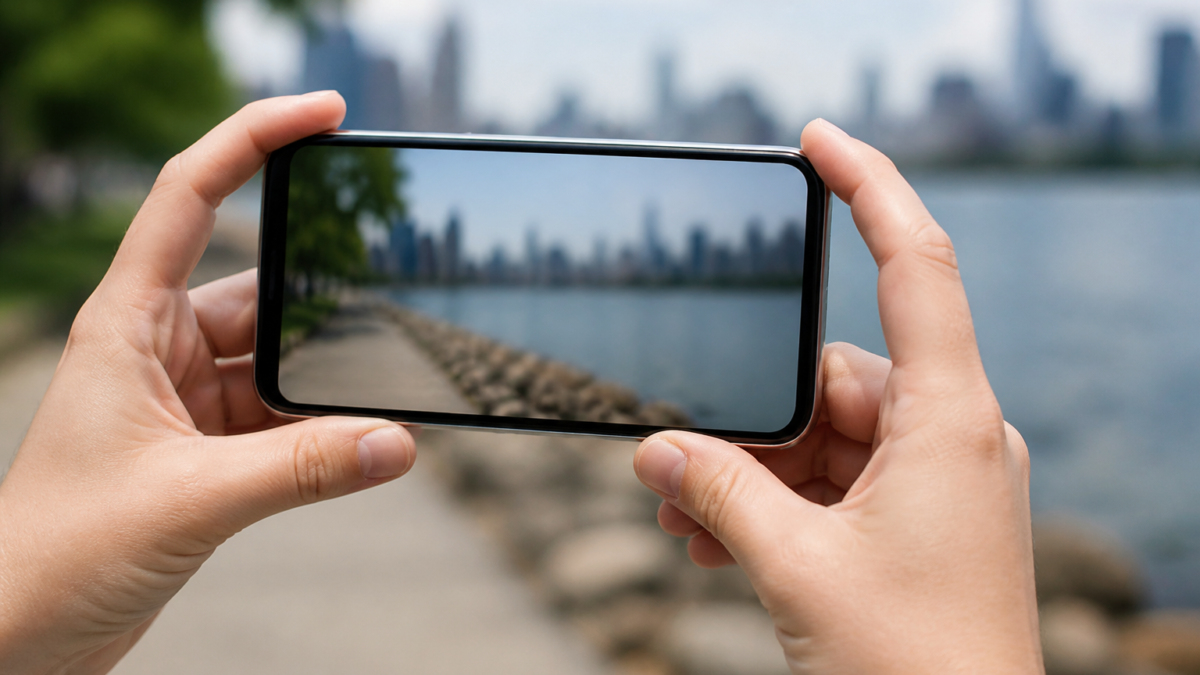
If your iPhone camera is blurry or not focusing, do not assume the camera module has failed. Fingerprints, condensation, low light, an obstructive case, a magnetic mount, camera movement, or being too close to the subject can all produce soft photos. A temporary app or iOS problem can also affect the viewfinder or autofocus.
The fastest way to identify the cause is to simplify the setup and test each camera under controlled conditions. Clean the lenses, remove every accessory around the camera, photograph a well-lit stationary subject, and compare the front and rear cameras. Then test the available rear-camera zoom choices and another app. These checks can reveal whether the problem involves technique, one lens, one app, or the phone more broadly.
This guide explains the safest troubleshooting order, what different symptoms usually indicate, and when professional inspection is the sensible next step. Menu names and camera capabilities can vary by iPhone model and iOS version, but the core tests apply to most recent iPhones.
Why an iPhone Camera Becomes Blurry or Stops Focusing
Blur does not have a single cause. Before changing settings, look closely at what the image is doing. A uniformly hazy picture often points to oil, dirt, condensation, or a lens accessory. A sharp background with a soft foreground may simply mean the subject is closer than that camera can focus. Smearing around moving people in a dark room is more consistent with motion blur.
Autofocus trouble looks different. The picture may repeatedly shift between sharp and soft, refuse to focus after you tap the subject, or make a faint clicking or vibrating movement. Accessory interference, physical damage, or a problem limited to one camera module can produce these symptoms.
| What you see | Likely areas to check first |
|---|---|
| Haze, glow, or streaks around lights | Fingerprints, grease, moisture, lens protector, or case reflection |
| Close object is blurry but background is sharp | Subject is too close, wrong lens selected, or macro switching |
| Blur mainly at night | Hand movement, subject movement, long exposure, or insufficient light |
| One zoom choice is always blurry | Obstruction or possible problem with one rear camera |
| Only selfies are blurry | Dirty front-camera area, screen protector, or front-camera issue |
| Only one third-party app is affected | App-specific problem rather than general camera failure |
| Focus shakes, clicks, or pulses continuously | Magnetic interference, impact damage, or camera hardware trouble |
iPhone Camera Blurry or Not Focusing? Follow This Quick Checklist
Perform these steps in order and take a new test photo after each meaningful change. Use the built-in Camera app, Photo mode, a stationary subject with printed text or clear edges, and bright indirect light. Testing in consistent conditions makes the results easier to compare.
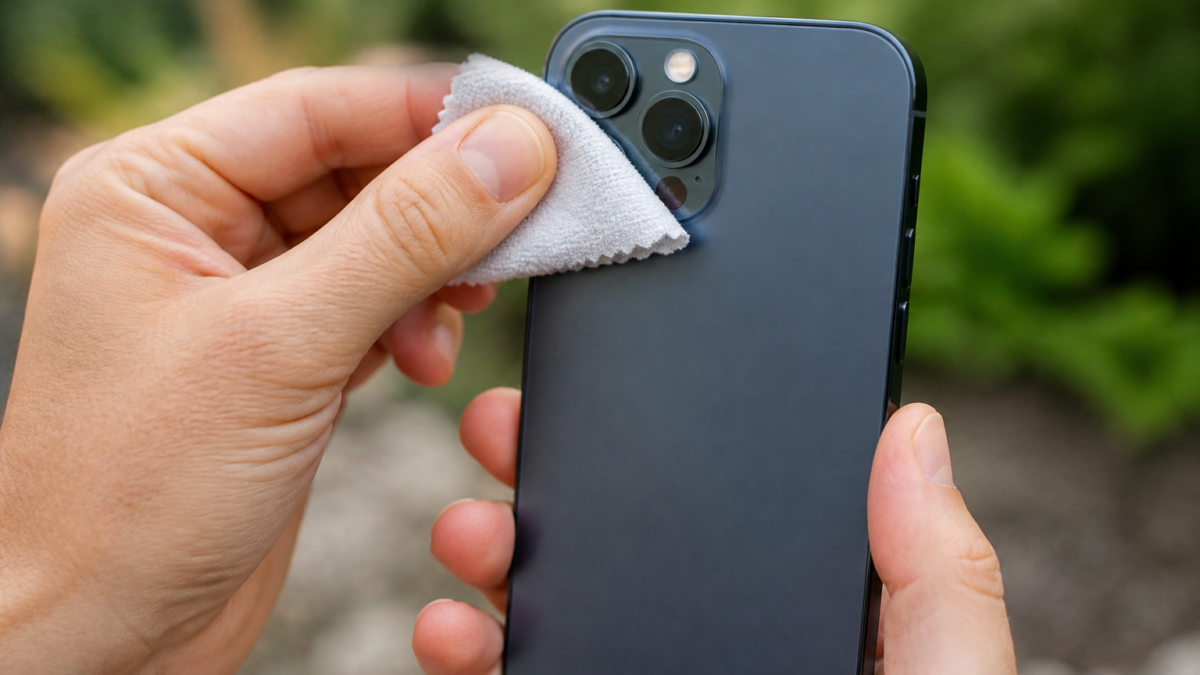
- Wipe every camera lens. Use a clean, soft, lint-free cloth such as a lens or microfiber cloth. Gently clean the rear lenses and the front-camera area. Apple advises against compressed air and abrasive cleaning materials. Avoid pouring liquid directly onto the phone or allowing moisture into an opening.
- Remove the case and camera accessories. Take off the case, stick-on lens protectors, decorative camera rings, lens converters, filters, magnetic mounts, and detachable wallets. Even a clear protector can collect grease, become scratched, trap moisture, reflect nearby lights, or sit slightly out of alignment.
- Inspect for condensation or damage. Look for cracks, chips, trapped dust, or fogging that appears to be beneath the outer lens cover. Wiping cannot remove internal moisture. If the phone recently experienced a fall, water exposure, or a rapid temperature change, note when the blur began.
- Move into better light. Photograph a still object near a window or outdoors in daylight without aiming directly at the sun. Better light allows the camera to capture the scene with less motion blur and makes a true focus failure easier to recognize.
- Tap the intended subject. Open Camera and tap the part of the preview that should be sharp. A focus box should appear. If the phone focuses correctly after the tap, the camera may previously have selected a different subject rather than malfunctioned.
- Change your distance. If you are photographing a document, flower, product label, or other close object, move the phone several inches farther away and test again. You can crop afterward if necessary. A camera cannot focus on an object that is inside its minimum focusing distance.
- Hold the phone steady. Brace your elbows, use both hands, or support the iPhone against a stable surface. Use the timer when pressing the shutter causes movement. Ask moving subjects to pause briefly for low-light photos.
- Test the front and rear cameras. Switch to the selfie camera, then return to the rear cameras. If only one side remains blurry, you have narrowed the problem to a specific camera area rather than the entire Camera app.
- Restart the iPhone. A normal restart clears temporary software states without deleting personal data. After the phone turns back on, open the built-in Camera app before opening social or messaging apps.
- Check for an iOS update. Back up important data, connect to power and Wi-Fi, and look under Settings > General > Software Update. Install an update offered for your device, then test again.
If cleaning or removing an accessory immediately restores sharp focus, no repair is indicated by that test. Leave the suspected accessory off and compare several indoor and outdoor photos before deciding whether it is safe to reinstall.
How to Handle Close-Ups, Low Light, and Focus Lock
Move back when a close subject will not focus
Every camera lens has a closest distance at which it can focus. If the subject is inside that range, tapping it repeatedly will not create a sharp image. Move back gradually until the details become clear. On supported iPhones, the Camera app can switch to the Ultra Wide camera for macro photography when you approach a subject. Apple states that supported models can capture macro subjects from as close as approximately 2 centimeters, but availability and behavior depend on the model.
A visible change in framing or image character during a close-up may be the phone switching cameras. That transition is not automatically evidence of damage. If the view continues to hunt, back away, improve the lighting, and keep both the phone and subject still.
Use tap focus and AE/AF Lock
The iPhone normally sets focus and exposure automatically. To choose a subject yourself, tap it in the Camera preview. For a subject that stays at a fixed distance, touch and hold the focus area until AE/AF Lock appears. Tap elsewhere to release the lock. This is useful when the phone keeps shifting focus between a foreground object and the background.
Focus and exposure are related but not identical. A photo that looks too dark is not necessarily out of focus. After tapping the subject, adjust the exposure control beside the focus area if needed rather than moving the phone closer.
Reduce blur in dim conditions
In low light, the camera may need more time to collect an image. Movement from the phone or subject during that interval can create blur even when autofocus works correctly. On supported models, Night mode activates automatically when appropriate. Hold the iPhone still until the capture finishes; a tripod or stable support can improve consistency. Flash may freeze a nearby subject, but it can also produce harsh reflections through a dirty lens protector or case opening.
Test Whether the Problem Involves One Lens, Mode, or App
Modern iPhones may use separate rear camera modules for different fields of view. The available controls vary, but you may see choices such as .5x, 1x, 2x, 3x, 5x, or other model-specific options. Test the choices shown on your phone by photographing the same detailed, distant subject in strong light.
- Only one zoom choice is consistently soft: Clean and inspect the corresponding lens area again. Remove the case and protector. A persistent difference may justify professional inspection.
- All rear choices are hazy: Look for grease, condensation, a shared accessory problem, or movement. Compare the front camera.
- Portrait mode looks soft but Photo mode is sharp: Check the subject distance and lighting. Portrait processing and depth effects can make some areas intentionally appear blurred.
- The preview is blurry but the saved photo is sharp: Reopen Camera and restart the phone. If other content also appears soft, review this guide to troubleshooting iPhone display issues.
- The saved image is sharp until you zoom in heavily: The issue may be magnification rather than failed focus. Digital enlargement exposes fine-detail limitations and normal image processing.
Next, compare the built-in Camera app with one third-party app that legitimately uses the camera. If Camera produces sharp images but a social, banking, scanning, or messaging app does not, update and reopen the affected app. Also check that it has camera permission under Settings > Privacy & Security > Camera. Reinstalling an app may remove locally stored data, drafts, or downloads, so confirm what will be lost first.
If an app is unresponsive, close and reopen only that app. Readers dealing with repeated app failures can use these additional iPhone app freezing checks. A fault that appears in every camera-enabled app is more likely to involve iOS, an accessory, or camera hardware.
Software Steps to Try Before Resetting Anything
Begin with low-risk software actions. Do not erase the iPhone simply because a photo is blurry. A factory reset is disruptive, and it cannot clean a lens, correct an obstructive protector, or repair a physically damaged camera module.
- Close Camera only if it is stuck. Open the App Switcher, find Camera, and swipe up on its preview. Reopen it and test. Apple generally recommends closing an app when it is unresponsive, not as routine maintenance.
- Restart normally. On an iPhone with Face ID, hold a volume button and the side button until the power-off slider appears. Button steps differ on older models. Turn the phone off, wait, and turn it back on.
- Update the affected third-party app. If the built-in Camera app is clear but another app is blurry, check the App Store for an update. Contact the developer if the fault continues only in that app.
- Install an available iOS update. Back up first and use Settings > General > Software Update. Updates can contain bug fixes, although an update is not guaranteed to resolve blur caused by dirt or damage.
- Review repair history. On supported devices, open Settings > General > About and look for Parts and Service History. If the camera was replaced, the section may identify it as Genuine, Used, Unknown, or show that repair completion is required, depending on the model and software.
A force restart is intended for an iPhone that is unresponsive and is not normally necessary when Camera still responds. Avoid downloading “camera repair” or “cleaner” apps that claim to fix physical autofocus, stabilization, cracked glass, or internal moisture.
When a Blurry iPhone Camera May Need Repair
Arrange an inspection if the problem survives controlled testing without a case or accessory. Hardware trouble becomes more plausible when the issue started immediately after a drop, strong vibration, liquid exposure, or an earlier camera repair.
Warning signs that support a service appointment
- The camera cannot focus at normal distances in bright light after the lenses are cleaned.
- The preview visibly shakes, jumps, or pulses while the phone is held still and no magnetic accessory is attached.
- You hear repeated clicking or buzzing near a rear camera.
- One rear camera is always blurry, black, or covered by spots that do not move after exterior cleaning.
- There is cracked camera glass, internal fogging, or suspected liquid intrusion.
- The front or rear camera fails in both the built-in Camera app and third-party apps.
- Focus or image-quality trouble began after a camera replacement, especially if Parts and Service History shows an unresolved or Unknown status.
Apple explains that strong magnets or magnetized metal near some rear cameras can interfere with optical image stabilization and closed-loop autofocus. Remove magnetic mounts, metal plates, lens attachments, and related cases before concluding that the camera is damaged. The interference may be temporary, but continued symptoms after removal deserve further testing.
What determines the repair cost
There is no reliable single price for an iPhone camera repair. The amount can depend on the exact model, which component is damaged, warranty or AppleCare coverage, accidental-damage eligibility, local taxes, shipping, and the service provider. Inspection may also reveal damage beyond the camera. Apple Authorized Service Providers can set their own out-of-warranty fees, so obtain a written estimate and ask whether the quoted amount includes diagnostics, parts, labor, and tax.
Before service, back up the iPhone, confirm your Apple Account credentials, and follow the provider’s preparation instructions. Ask what part will be installed, what repair warranty applies, and whether calibration or Repair Assistant must be completed. Apple warns that nongenuine camera parts may cause incorrect focus, soft images, Portrait mode problems, or camera trouble in third-party apps.
Common Fixes That Can Make the Problem Worse
- Do not scrape the lens or protector. Metal tools and abrasive compounds can scratch coatings or glass.
- Do not blast compressed air around the camera. Apple advises against using compressed air to clean an iPhone.
- Do not apply liquid directly to the lenses. Put no cleaner into camera openings or damaged glass.
- Do not shake, slap, or repeatedly tap the phone. This is not a safe autofocus repair and can worsen loose or damaged components.
- Do not use heat to clear condensation. Hair dryers, heaters, ovens, and direct high heat can damage the phone and battery.
- Do not erase the device as a first step. Complete the physical, accessory, app, restart, and update checks before considering any reset.
- Do not open the iPhone without appropriate expertise. An improper repair can damage internal parts, affect water resistance, or create battery safety risks.
Frequently Asked Questions
Why is my iPhone camera blurry even after I clean it?
Remove the case and any lens protector, then test a stationary subject in bright light. A protector may remain cloudy, scratched, misaligned, or reflective even when clean. Also move farther from the subject and compare every available rear camera choice. If one camera stays blurry in multiple apps while the others are clear, that pattern may indicate a problem with a specific module.
Can an iPhone camera lens protector cause focus problems?
Yes. A lens protector can affect image quality if it is dirty, scratched, cracked, fogged, poorly aligned, or reflecting light into the camera. Decorative rings and thick cases can also intrude into the camera’s field of view. Remove the protector and case completely for a controlled comparison. If image quality immediately improves, replacing or leaving off the accessory is more appropriate than repairing the phone.
Why will my iPhone not focus on something close?
The object may be closer than the selected camera can focus. Move the iPhone away until the subject becomes sharp, add more light, and tap the subject in the preview. Supported models can switch to an Ultra Wide camera for macro photography, but macro availability varies. If the phone keeps switching cameras, maintain a steady distance or back away and crop the finished photo.
Why are my iPhone photos blurry only at night?
Low light often requires a longer capture, making movement more visible. Hold the phone with both hands, brace it against a stable surface, or use a tripod. Keep the phone still until a Night mode capture finishes. Moving people or pets can remain blurred even when the background is sharp. Cleaning the lens is especially important because fingerprints can create pronounced glow and streaks around nighttime lights.
Can a magnetic car mount make the camera blurry?
It can. Apple says strong magnets or magnetized metal placed near the rear cameras may interfere with optical image stabilization and closed-loop autofocus on affected models. Remove the mount, magnetic plate, detachable wallet, and case before testing. Restarting is reasonable afterward, but first determine whether focus returns with every magnetic accessory physically separated from the camera area.
Should I reset all settings to fix an iPhone camera?
Not as an early step. First clean the lenses, remove accessories, improve the lighting, change the shooting distance, compare cameras and apps, restart, and install available updates. Resetting settings changes system preferences and may create extra work without helping a dirty, obstructed, or damaged lens. If basic checks fail, Apple Support or a qualified repair provider can help determine whether further software troubleshooting is appropriate.
How do I know if the iPhone camera is physically broken?
Strong indicators include cracked lens glass, internal fogging, a black camera in every app, repeated clicking, a preview that shakes while the phone is stationary, or one lens that remains blurry in daylight without accessories. A problem beginning immediately after a drop, vibration exposure, liquid contact, or camera replacement also raises concern. Back up the phone and arrange inspection rather than attempting to force the lens into position.
Conclusion
If your iPhone camera is blurry or not focusing, start with the fixes that are safe, fast, and easy to reverse. Clean both camera areas with a soft lint-free cloth, remove the case and every lens or magnetic accessory, use bright light, tap the intended subject, and move back from close objects. Comparing the front camera, each rear-camera choice, and the built-in Camera app with another app will often reveal where the problem lies.
Restarting and installing an available iOS update are sensible next steps, but they cannot correct cracked glass, trapped moisture, or a damaged focusing mechanism. Seek professional service if a camera remains soft in controlled daylight, shakes or clicks without accessories, fails across apps, or became unreliable after an impact or repair. Back up the iPhone and request a model-specific estimate before approving work.



Leave a Reply